iOS 17: How to customize the contact card
Apple added a slew of features to the iPhone with iOS 17, and one of the most notable is the Contact Poster, a way to create your own digital business card using images, colors, and text.
Apple has added many features to the iPhone with iOS 17.
Here’s how it works: when you call someone from iPhone to iPhone and are saved in their contacts, your Contact Poster will appear on their screen. It replaces the much smaller notifications and thumbnail image that were previously displayed, and gives you the ability to get creative with how you want to look in the eyes of your friends, family, or coworkers.
The Contact Poster is a new feature that lets you get creative with how you want to look in the eyes of your friends, family, or coworkers.
While you’re customizing your contact poster, you can also make changes to your Apple ID avatar based on the poster. For example, if you go into your iPhone or Mac settings, you’ll see that you can change your profile picture to match what you’ve customized as your contact poster, whether it’s a new image you’ve made or a specific Memoji.
While you’re customizing your contact poster, you can also make changes to your Apple ID avatar based on the poster.
You need to run the public beta of iOS 17 right now to take advantage of the «Contact Posters» feature. It will be available on all compatible iPhones when the full version of iOS 17 is released later in 2023.
And you’ll need to run the public beta of iOS 17 right now to take advantage of the «Contact Posters» feature.
To find the Contact Poster settings in iOS 17:
- Open the «Contacts» app on your iPhone.
- Tap your name at the top of the contact list.
- Select the contact’s photo and poster.
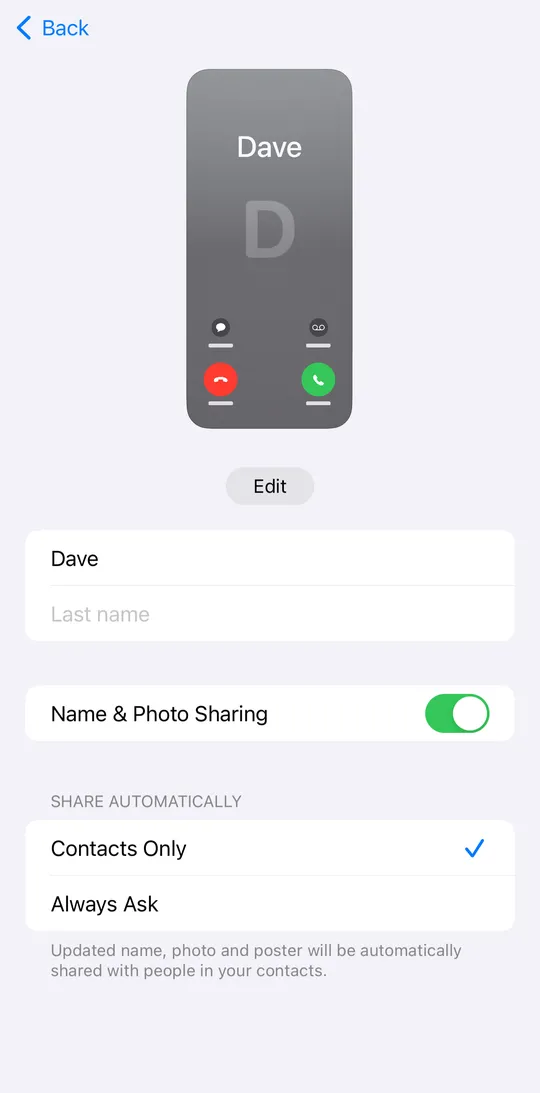
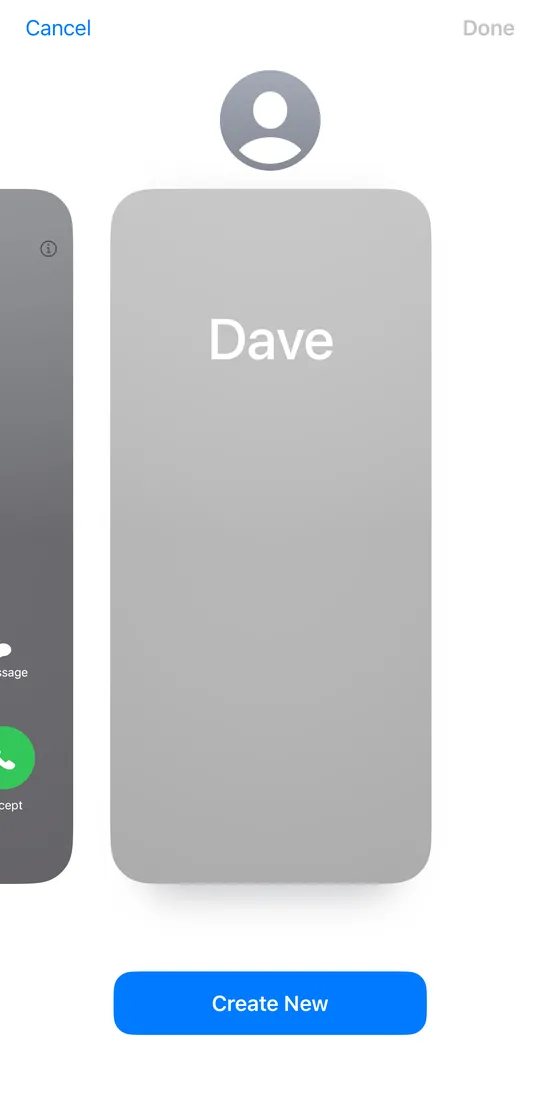
The first thing you’ll see are the contact card settings: the first and last name you want to use, whether you want to share your name and photo at all, and whether you want to automatically share your card with all your contacts or whether you want iOS to ask you every time you call someone in your contact list.
All of these options are available to you.
Now’s your chance to get creative with what other people see when you call them.
To create a new contact poster in iOS 17:
- Tap Edit, then the + (plus) symbol. If you swipe to the right, an option Create New will also appear at the far right of existing contact posters, which you can use instead.
- At the bottom of the screen, select Camera, Photo, Memoji, or Text to select the type of contact poster you want to create.
.
When you use your camera or photos to create a new contact poster:
- Take a new photo or choose one from your library.
- Swipe left or right or switch between image and font styles.
- Touch the color palette (bottom right) to change the color for any effect.
- Enlarge or reduce the size of the photo to change the scale and cropping.
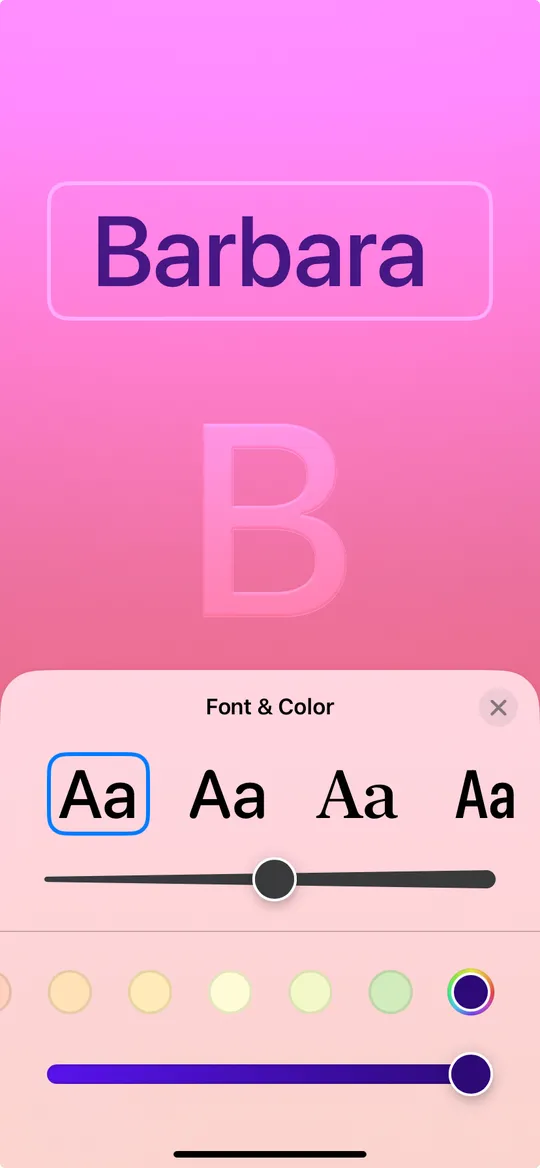
- Touch the text at the top to change the font style, thickness and color.
When you use Memoji to create a new contact poster:
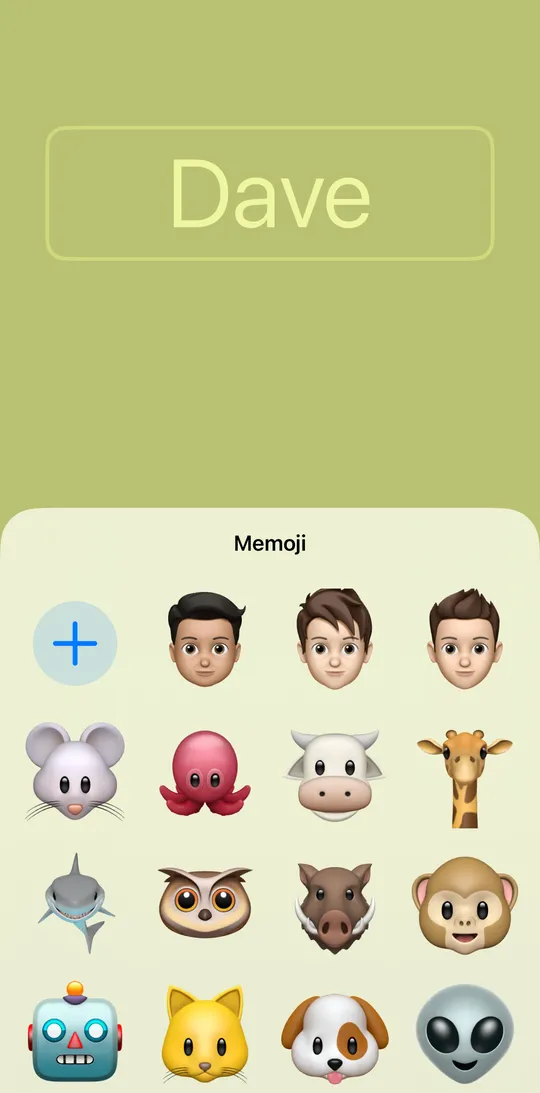
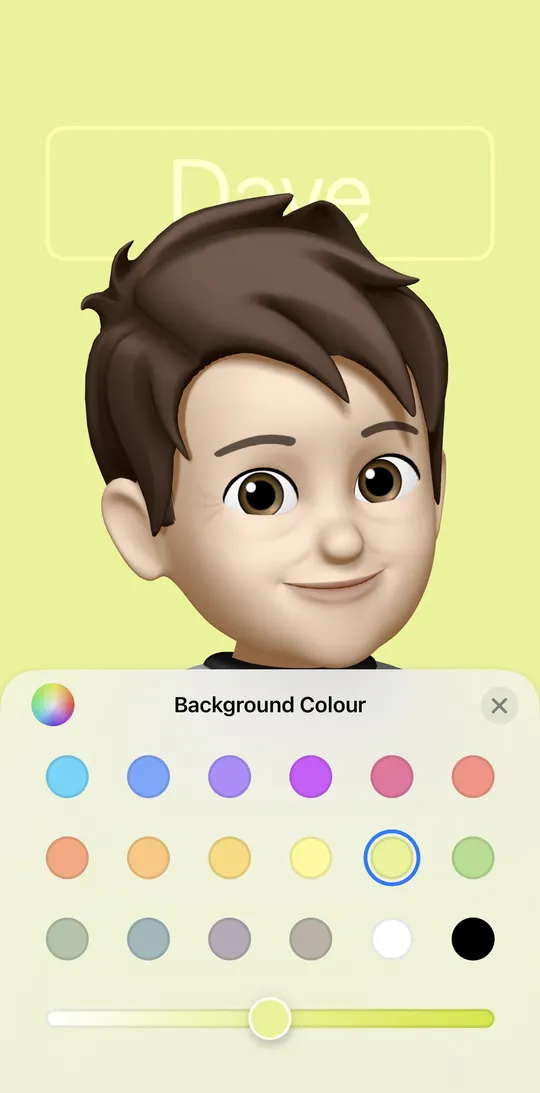
- Select Memoji from the pop-up window or press + to create a new one.
- After you have created your new Memoji or a variant of an existing one, you can click on the camera icon to select your own expression and save it.
- On the next screen, you can tap the color slider (in the lower left corner) to choose a background color, or change the Memoji image (and save the expression) by tapping the icon in the lower right corner.
- Tap the text at the top to change the font style, thickness, and color.
When you use Monogram to create a new contact poster:
- Touch the color palette (bottom left) to select a background color.
- Touch the text at the top to change the font style, thickness and color.
- Touch the letters in the bottom right corner to change the large letters in the center of the poster. You can specify one or two characters (such as your initials).
Whatever type of contact poster you are creating, click Done when you are satisfied with the result, and then Continue on the preview screen.
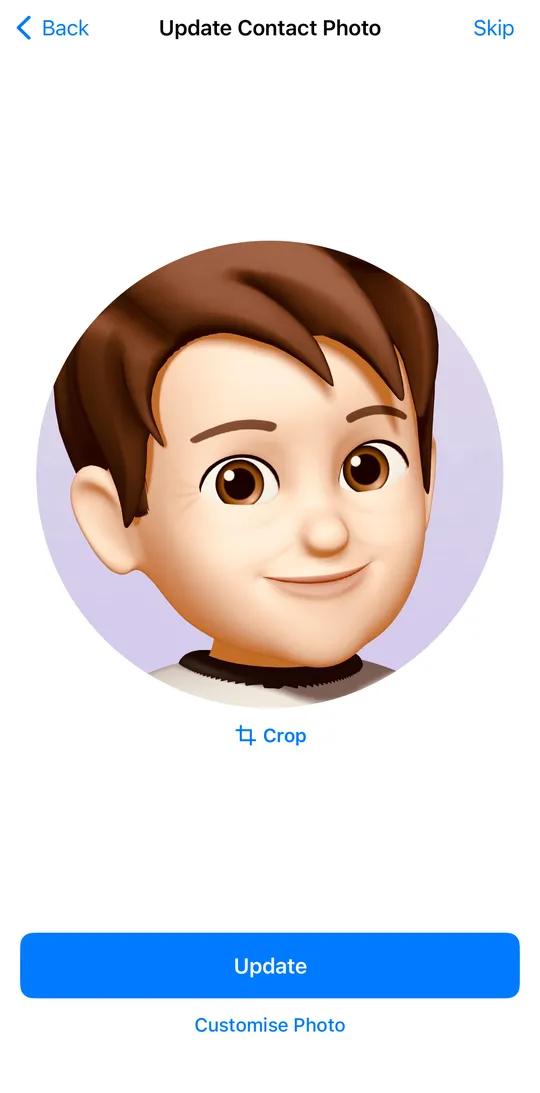
You can then also use the new contact poster to update the main contact photo that’s used for Apple ID on devices and in other people’s contact lists. Tap Skip if you don’t want to do that, or Update if you do, and you’ll be happy with the contact photo created from your contact poster being displayed on the screen.
You can also choose «Customize Photo» (found under the «Update« button) if you want to update the contact photo but don’t want something based on the contact poster you just created. You again get the same four options as before: Camera, Photo, Memoji and Text, as well as Emoji. In other words, you can have a poster with a contact’s text, with an emoji or Memoji, as well as your actual image.
Memoji.
As soon as this is done, the data will be changed in «Contacts» and a new poster will be set. To switch between the different contact posters created and customize them:
- Go back to Contacts, click on your name, then select Contact Photo and Poster.
- Click Edit again.
- Swipe left or right to select the current contact poster, or customize it for editing.
.
.
To delete a contact poster, swipe up, then tap the red trash icon that appears.
It’s worth mentioning that contact posters work well with another new iOS 17 feature, NameDrop. NameDrop is meant to be a quicker and easier way to share contact information with someone: bring your iPhone close to someone else’s iPhone or Apple Watch, and assuming Bluetooth is enabled on both devices, you should get a prompt asking if you want to share your contact info.
NameDrop is designed to be a quicker and easier way to share your contact information with someone else.
This prompt displays the default contact poster you’ve set up, and of course, once the contact information is transferred, your contact poster will appear on the other person’s iPhone as well. However, NameDrop hasn’t appeared in the iOS 17 public beta yet, so you’ll have to wait to find out how it works.
So you’ll have to wait to see how it works.

