HowTo
How to enable screen recording for Windows and Mac
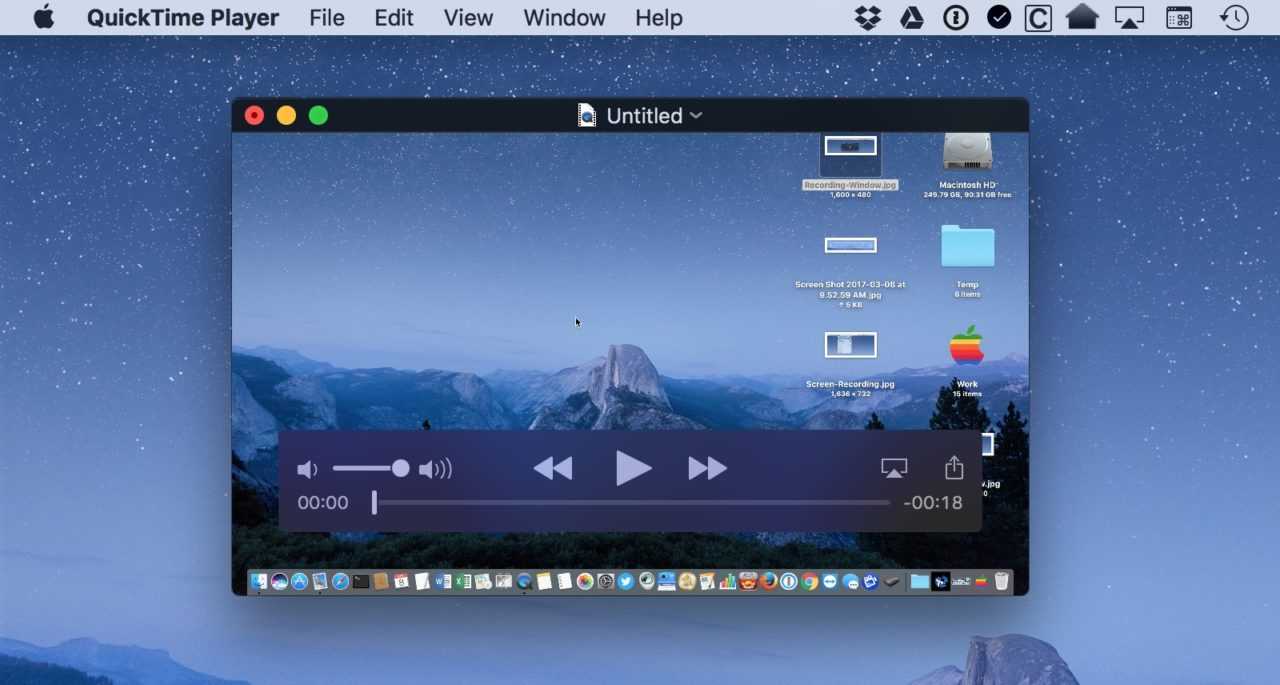
Screen recording on Windows and Mac has become an essential feature for video creators, gamers, and even office workers who need to create presentations. Enabling screen recording may seem like a daunting task at first, but it’s actually quite simple. In this article, we’ll show you how to enable screen recording on Windows and Mac operating systems.

For Windows operating systems
- Click the «Start» button in the lower left corner of the screen.
- Type «Xbox Game Bar» in the search bar and click on the app that appears.
- Press the Windows key + the G key combination to open the Xbox Game Bar.
- Press the «Record» button shown as a round button when the Xbox Game Bar opens.

- You can also press Windows + G to start recording
- To stop recording, press the round button «Stop» or press the Windows + G button again.
.
For Mac operating systems
- Start the QuickTime application on your Mac.
- Click «File» on the QuickTime menu, then «New Screen Recording».
- Click the «Record» button shown by the red dot.
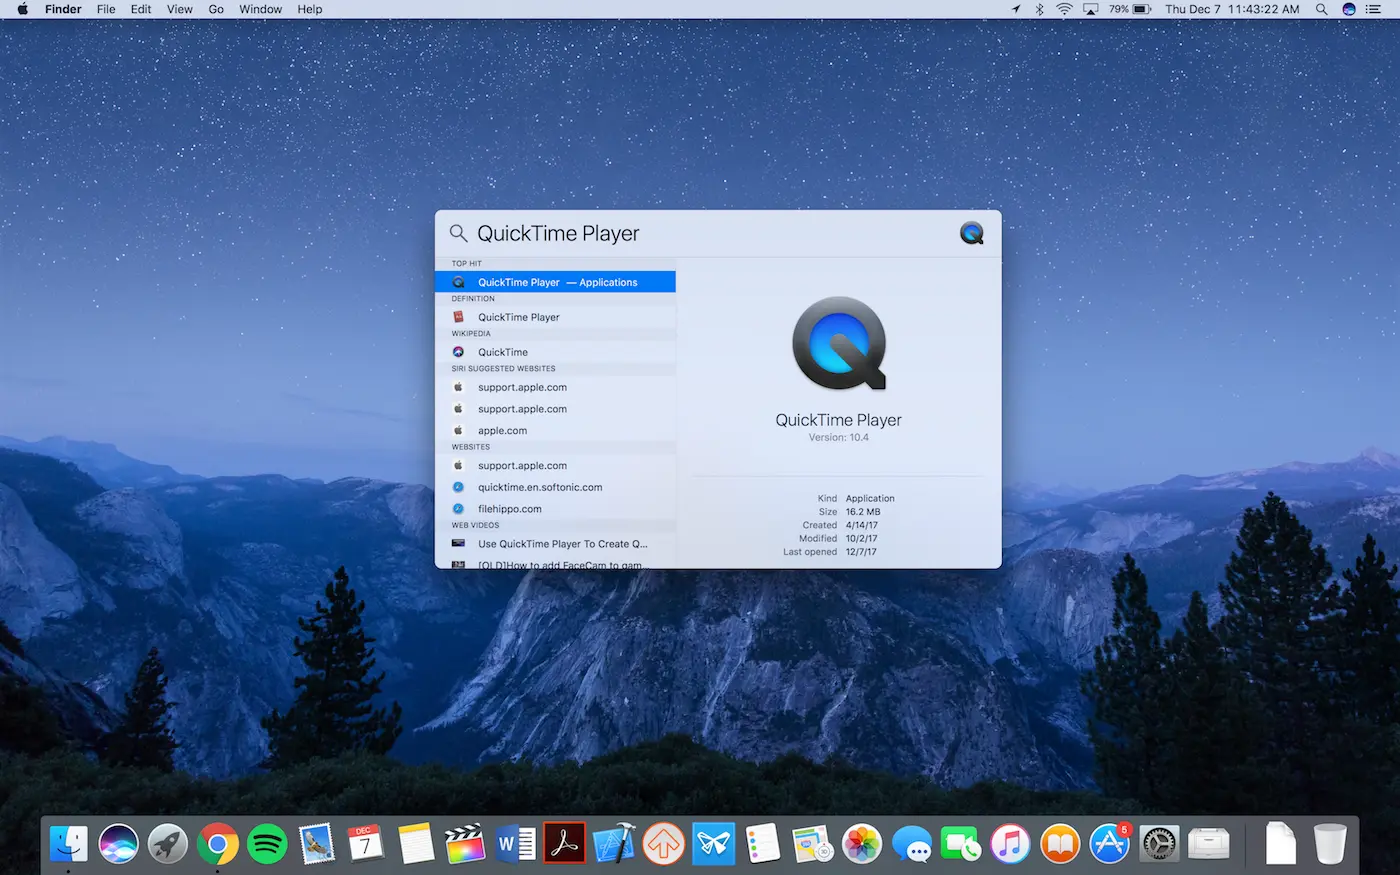
- Select the area of the screen you want to record by clicking and dragging it.
- When you have selected the area to record, click «Start Recording».
- When the recording is finished, click on the «Stop Recording» button located on the top menu bar.
Subscribe
Login
0 Comments
Oldest

